I remember when I first started experimenting with vegan ice cream recipesabout two years ago. There were some based on cashew nuts, the other based on Coconut milk . The cashew ice cream never really got creamy and it just always lacked that melt-in-your-mouth ice cream feeling. It did get better with coconut milk or a mixture of the two, but then my husband was like, “I don’t like that coconut flavor in my ice cream.” Great, now what?

The enlightenment – make vegan ice cream with aquafaba, without an ice cream maker
Eventually the time came and I had the perfect ice cream for me, made from Aquafaba . I tested it with and without an ice cream maker and both versions turned out great. With the ice cream maker, however, it is still a tad creamier, but that’s just by the way. The base is chickpea water, which you need to make Aquafaba you need. Here are detailed instructions on how to make Aquafaba egg whites . Add fine powdered sugar, cocoa powder and melted chocolate. Yes, that’s it! Sounds simple, is simple and no, there is no catch.
A creamy, healthy ice cream with only 4 ingredients – WHOHOOO
There are only a few small things to consider during production:
- Make aquafaba according to good instructions and whip too long rather than too short. The beaten egg white should be really nice and firm.
- The powdered sugar can be added directly into the finished beaten egg white and whipped again. The ice snow only gets firmer with the help of the powdered sugar.
- The cocoa powder is the other way around. It should definitely be sifted in and carefully folded in. In no case whip again like the powdered sugar. That would cause the mass to collapse in on itself.
- The chocolate is the final opponent, so to speak. Here it is important to melt them carefully and without too hot temperatures in a water bath. I let it stand for a few minutes – as soon as it is liquid – so that it cools down a bit. FINGER TEST Dip a finger into the melted chocolate and check the temperature. If it is lukewarm and still liquid, then everything is perfect. Simply pour all the chocolate into the pot at once and gently fold it in with a silicone spatula, working from the bottom up.
Sounds complicated? It is not at all. It simply comes down to a few small details that you should definitely pay attention to. Then everything goes very easily and the result can be seen.
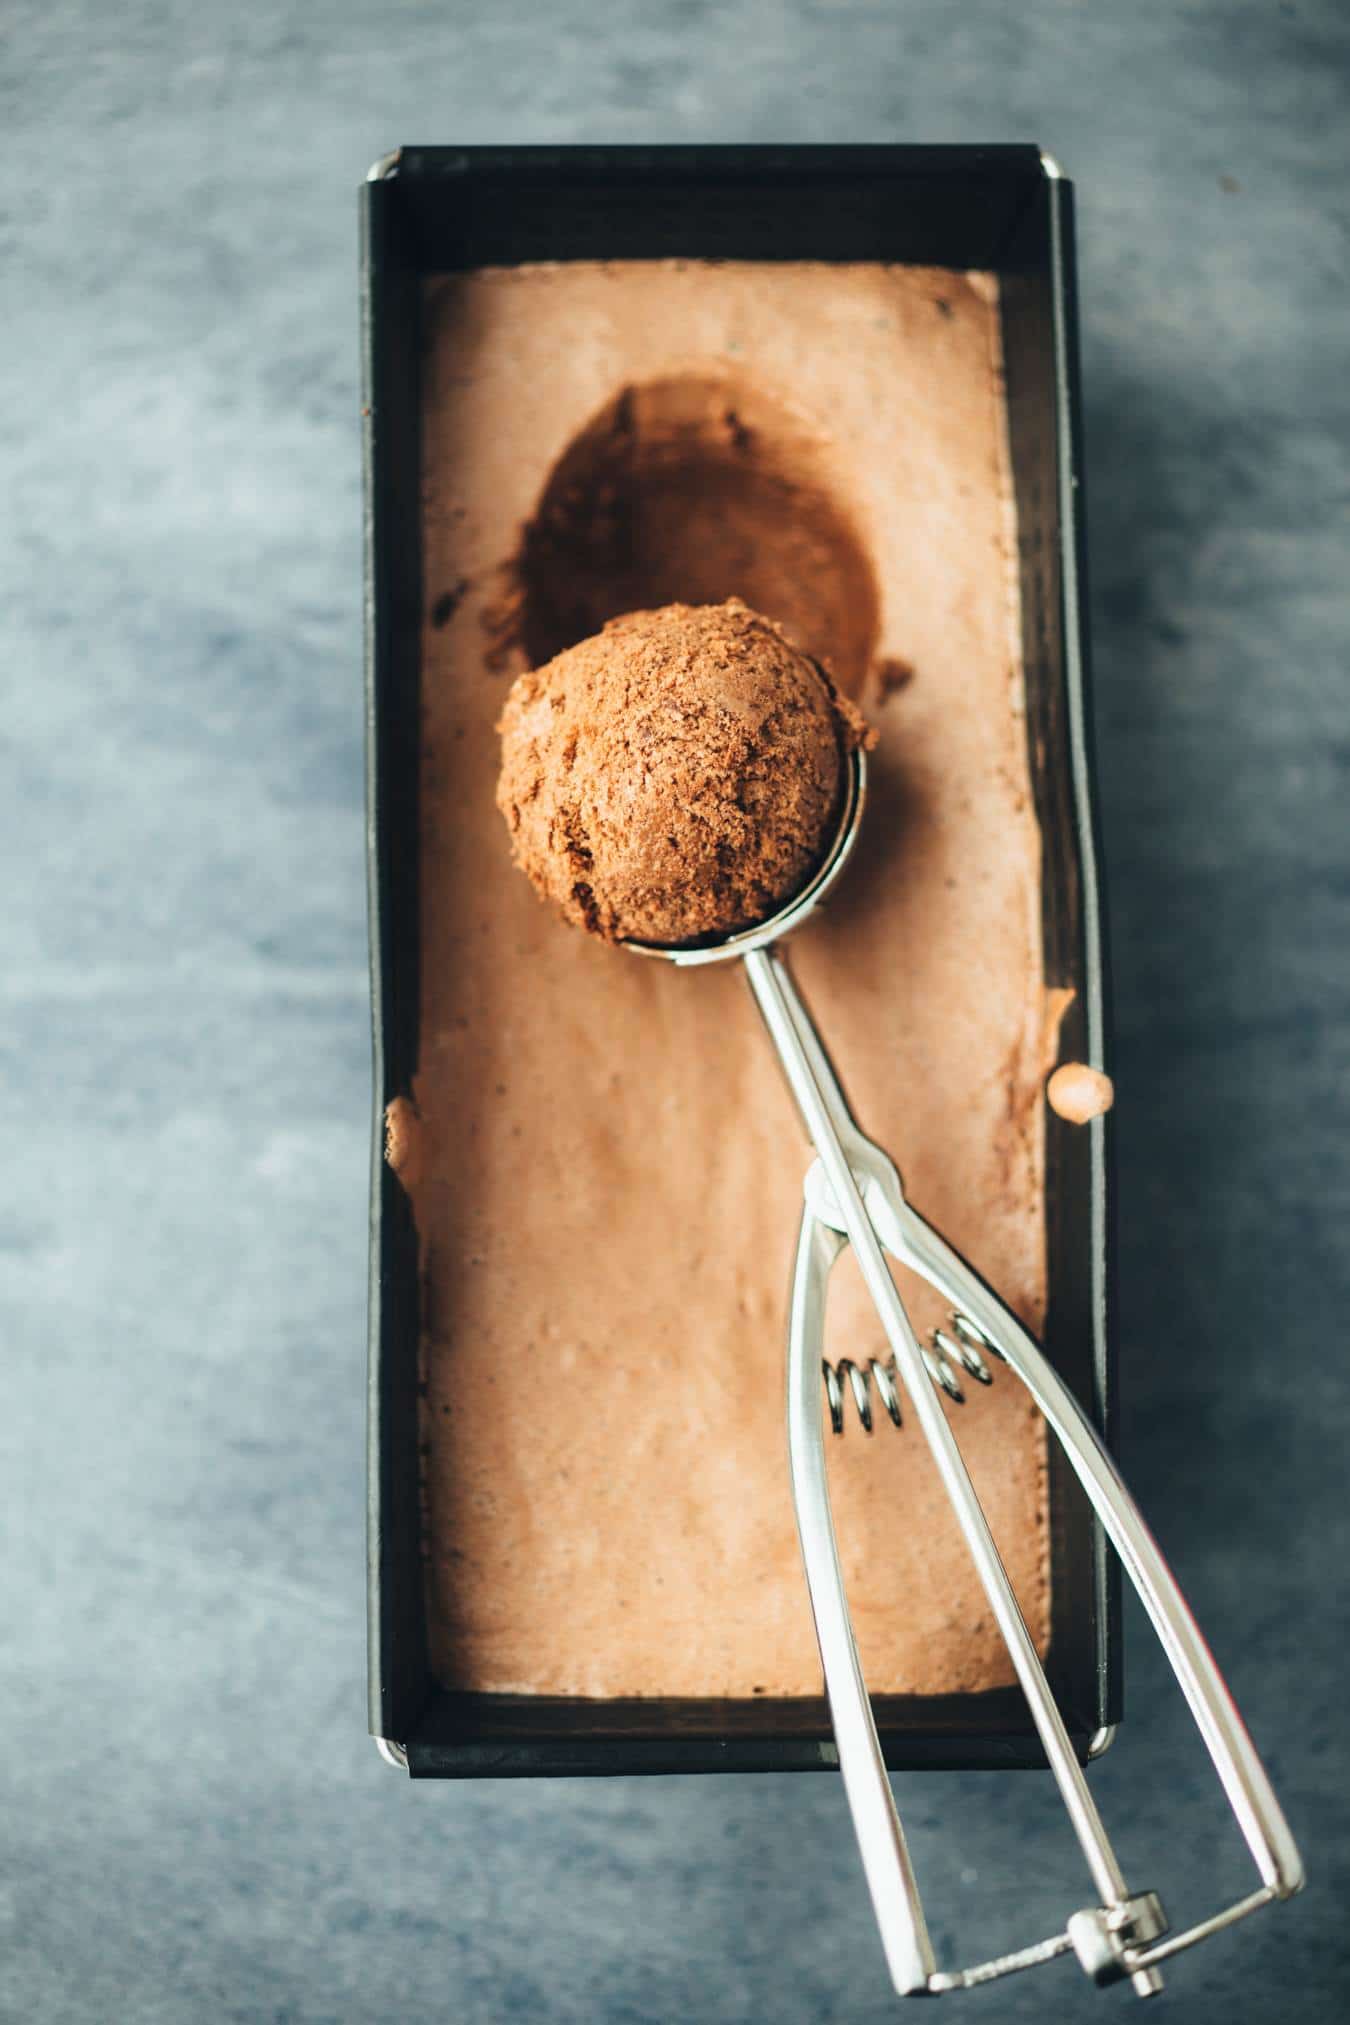
Is the consistency the same as that of “normal” ice cream?
To be honest, I could see little difference. It feels like the ice cream melts a tad faster. The taste is more intense from my point of view. I am very happy to hear about your experiences, feel free to comment at the bottom of the page.
NOTE to all ice cream maker owners: this recipe also works wonderfully with an ice cream maker.
If you want to serve the ice cream as a dessert, raw truffles go super well with it. Try with pleasure the Chocolate orange or Chai Truffle , simply heavenly. Fresh fruit and Coconut cream on top and you have the perfect dessert.
The vegan aquafaba chocolate ice cream is:
- chocolatey
- creamy
- Light
- Easy to manufacture
- Delicately melting
If you love this Ice cream love it as much as I do (and my husband does), then I’d be happy to see a review at the bottom of this page. If you post a picture, use the hashtag #veganevibes.

HOW TO make vegan aquafaba chocolate ice cream yourself (without ice cream maker)
Utensilien
Inhaltsstoffe
- 425 g Chickpeas strain and collect the water (this is the aquafaba!) (1 can or jar) yields about 120ml liquid
- 20 g Powdered sugar
- 1 tbspn Cocoa powder
- 80 g vegan dark chocolate or chocolate coating
Anleitung
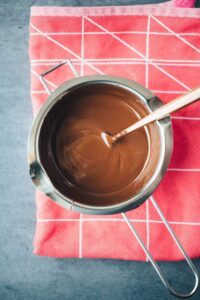
- Melt chocolate carefully and over medium heat.80 g vegan dark chocolate
- Strain chickpeas and save the chickpea water – this is the chickpea water that is needed for Aquafaba needed.425 g Chickpeas
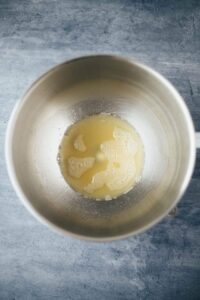
- Put chick water in a clean and absolutely fat-free mixing bowl (of the food processor) and whip with the mixer (hand mixer or food processor) on the highest speed for 3-6 minutes, until the chick water has increased in volume and looks like beaten egg whites.
If in doubt, continue beating longer and at the highest level rather than stopping too soon.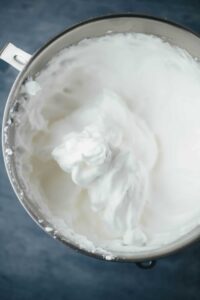
- Remove melted chocolate from heat and allow to cool briefly.

- Add powdered sugar and beat again until well combined.20 g Powdered sugar
- Place sieve over bowl and sift in cocoa powder.1 tbspn Cocoa powder
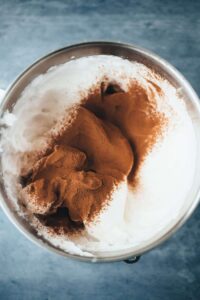
- Pour in chocolate completely and gently fold in cocoa powder and chocolate using a silicone spatula.
Always work from the bottom up because the chocolate is heavier and will settle to the bottom of the bowl.
- Once everything is evenly combined, the mass should have reduced by about half in terms of volume.
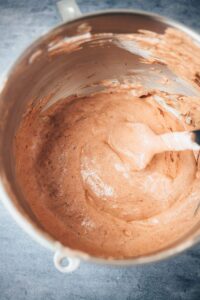
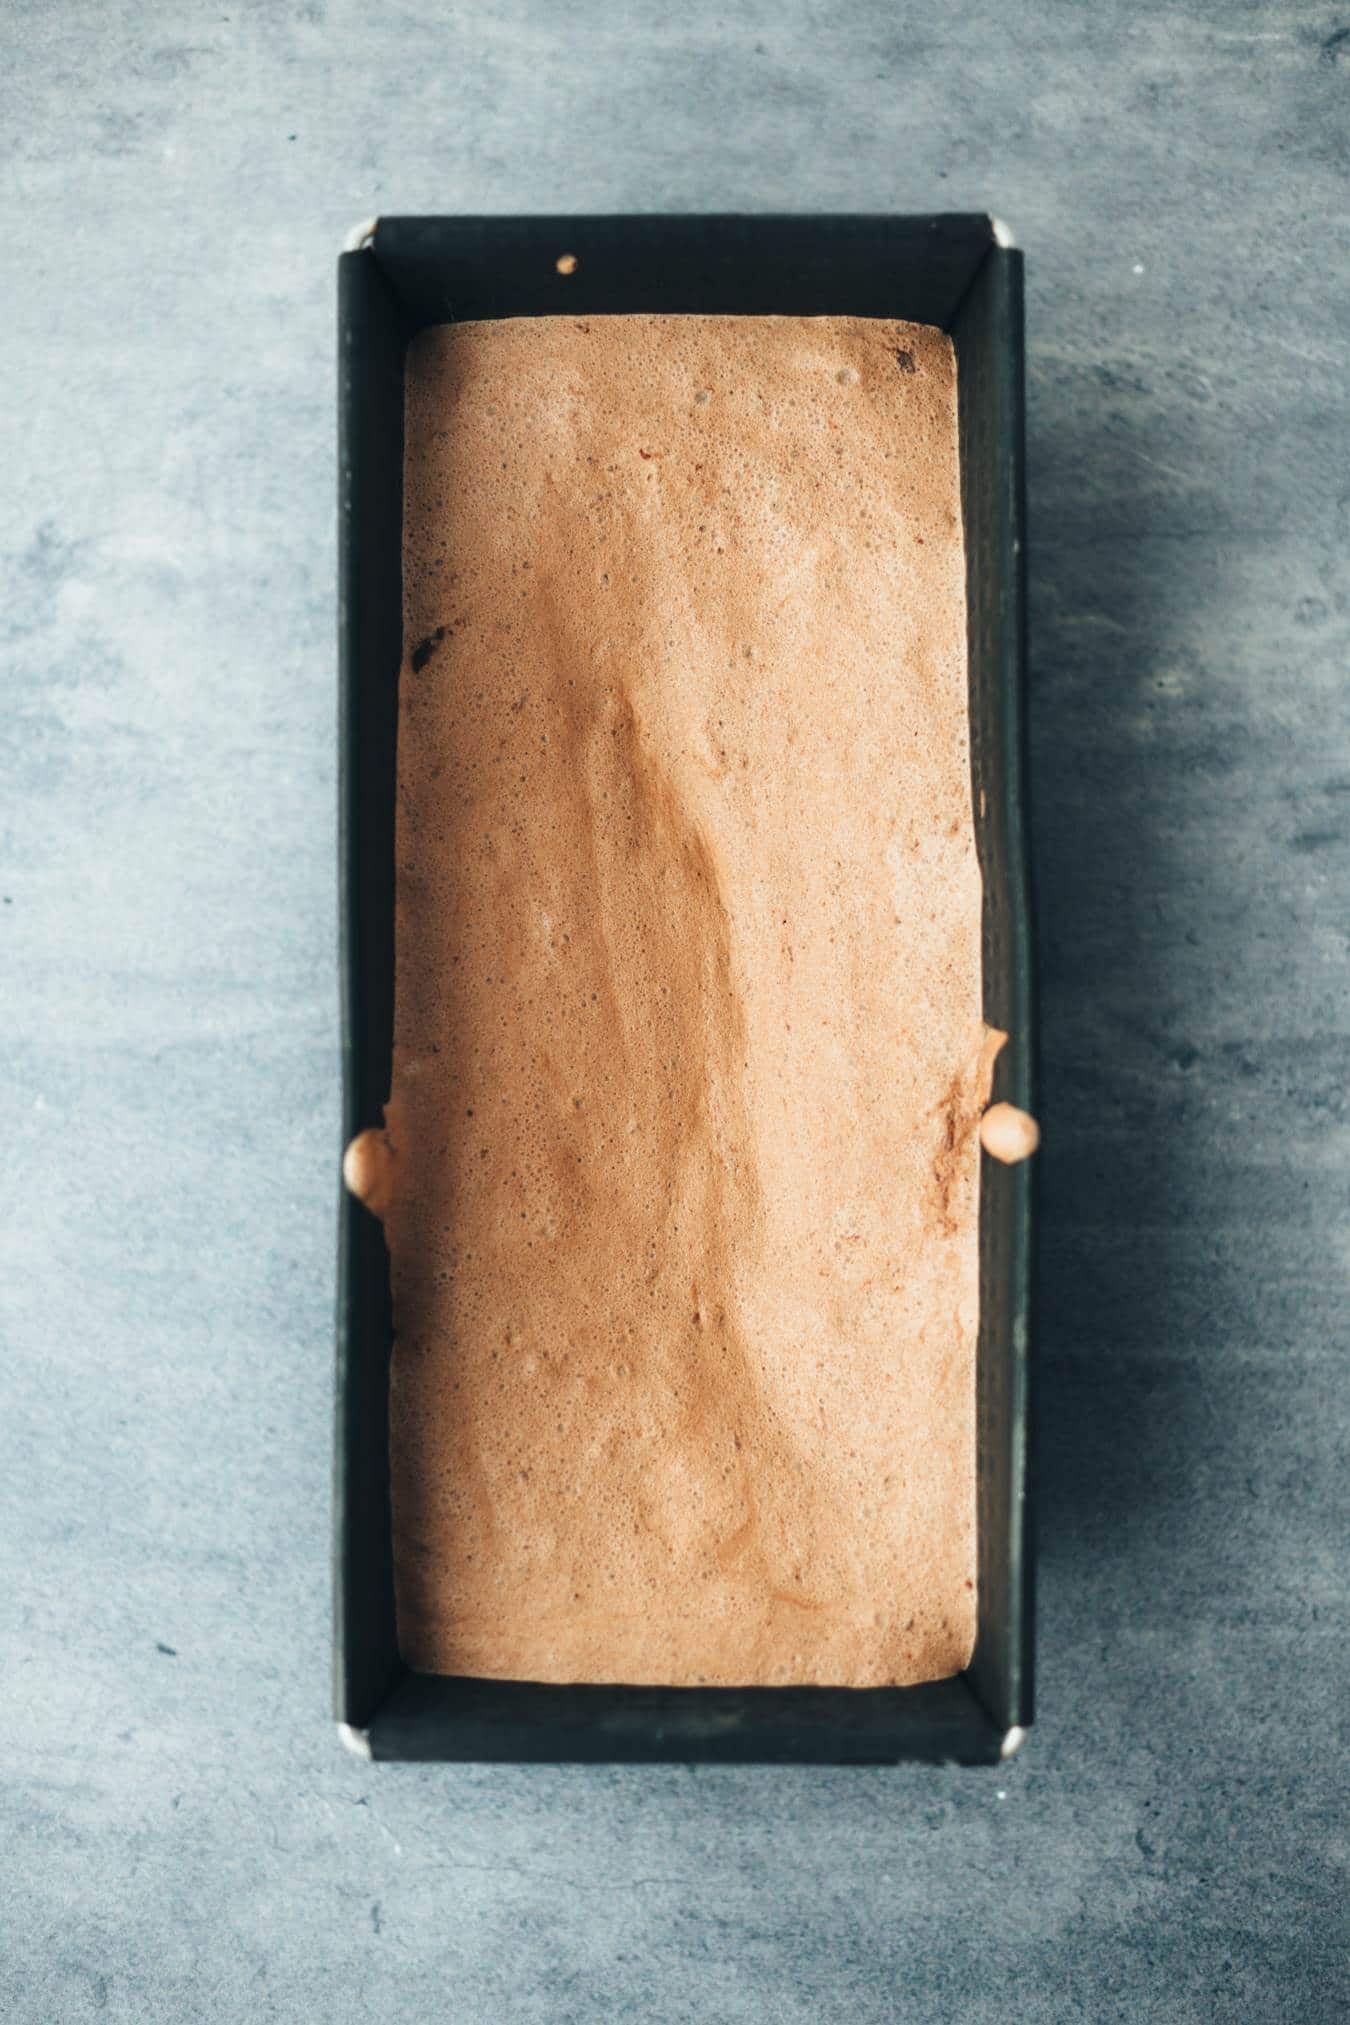
- Pour into a freezer-safe loaf pan (I just use a baking pan here) and let set in the freezer for at least 8 hours. ALTERNATIVE: Pour into an ice cream maker and prepare according to manufacturer’s instructions.
- To serve, remove, let thaw for 5 minutes, portion with an ice cream scoop and arrange in dessert bowls or an ice cream cone. Garnish with desired toppings and enjoy!
Notizen
- Silicone spatula: http: //amzn.to/2sgBFxh
- Loaf pan: http: //amzn.to/2nQSZn4
- Ice cream scoop: http://amzn.to/2C3KMBj
